
Plastic body part repair is a specialized automotive field using diverse materials and advanced technologies to restore plastic components for both structural integrity and aesthetic appeal. Techniques range from manual handwork to 3D printing, ensuring high-quality repairs matching original specifications. This meticulous process begins with damage assessment, preparation (cleaning, drying), repair (shaping, polishing), and painting, resulting in professional, long-lasting results.
“Uncover common techniques for effective plastic body part repair with our comprehensive guide. From understanding the fundamentals to exploring a range of materials and tools, we demystify this specialized craft. Learn about step-by-step approaches that ensure precision and success in various repair scenarios. Discover how these methods revolutionize the restoration process, catering to both professionals and enthusiasts. Dive into the world of plastic body part repair, where skill meets innovation.”
- Understanding Plastic Body Part Repair Techniques
- Common Materials and Tools Used in Repairs
- Step-by-Step Guide to Successful Repairs
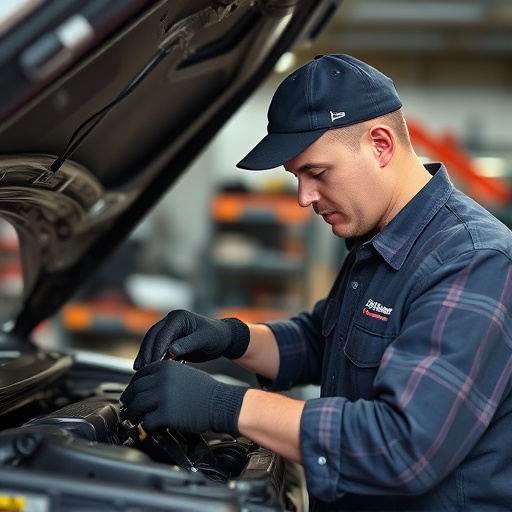
Understanding Plastic Body Part Repair Techniques

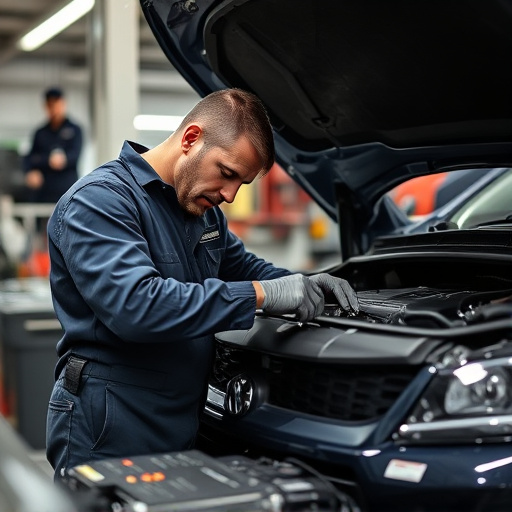
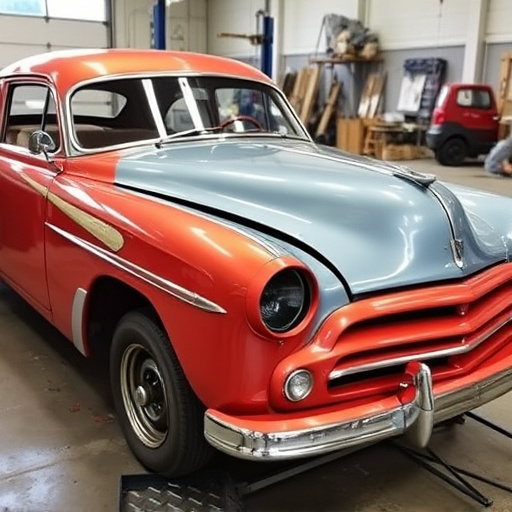
Plastic body part repair is a specialized field within the broader automotive industry. It involves the skilled restoration and reconstruction of damaged or deteriorated plastic components on vehicles, focusing on both structural integrity and aesthetic appeal. Understanding these techniques is key to ensuring high-quality repairs that match the original specifications. This process often requires a deep knowledge of various materials, including polycarbonate, acrylic, and PVC, each with unique properties demanding tailored approaches.
The art of plastic body part repair encompasses a range of methods, from simple handwork to advanced technologies. It includes techniques such as heating and reshaping, where heat is applied to soften the plastic, allowing for adjustments and refinements. Another common method is the use of specialized adhesives designed to bond plastics firmly together, mimicking their original strength and flexibility. In more complex cases, auto body services may employ computer-aided design (CAD) and 3D printing technologies to create precise replacements, offering a modern twist on traditional tire services.
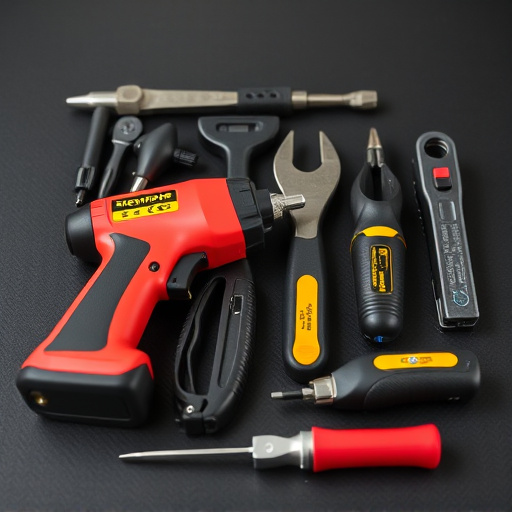
Common Materials and Tools Used in Repairs
In the realm of plastic body part repair, a variety of materials and tools are employed to restore vehicle aesthetics and functionality. Common materials include high-quality plastics, composite resins, and fibre glass, chosen based on the specific part’s requirements. These materials offer durability, lightweight properties, and excellent resistance to impact, making them ideal for automotive applications. The choice of toolset is equally crucial; it comprises specialized cutting tools, sanders, heat guns, and adhesives designed to handle plastic’s unique characteristics. Auto repair shops often invest in advanced equipment like precision cutters and vacuum formers to ensure accurate and consistent results.
Beyond traditional methods, modern body shop services utilize innovative techniques such as 3D printing and computer-aided design (CAD). These cutting-edge approaches allow for the creation of precise plastic components, facilitating complex repairs and customizations. Incorporating these advanced materials and tools has revolutionized auto glass replacement and overall plastic body part repair processes, enhancing the accuracy, speed, and overall quality of restoration work.
Step-by-Step Guide to Successful Repairs
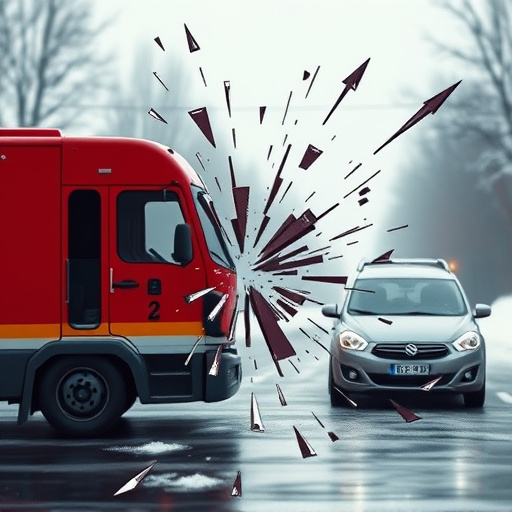
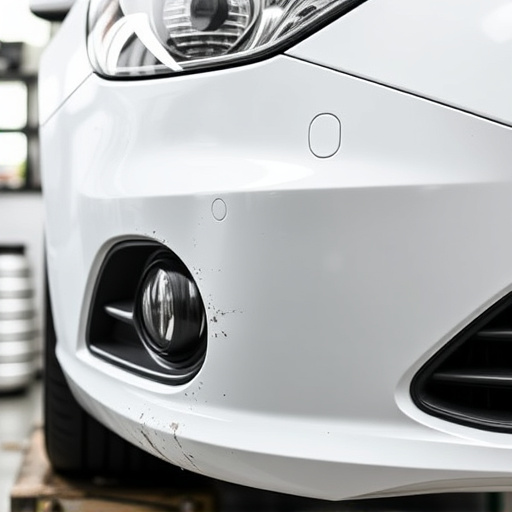
A successful plastic body part repair involves a meticulous process that requires precision and skill. Here’s a step-by-step guide to ensure optimal outcomes, whether repairing a fender bender or addressing collision damage:
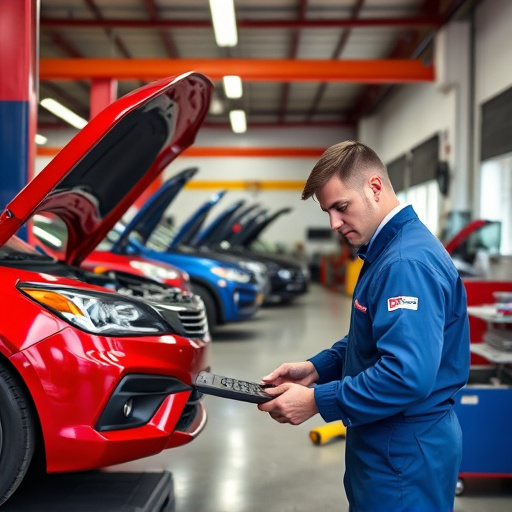
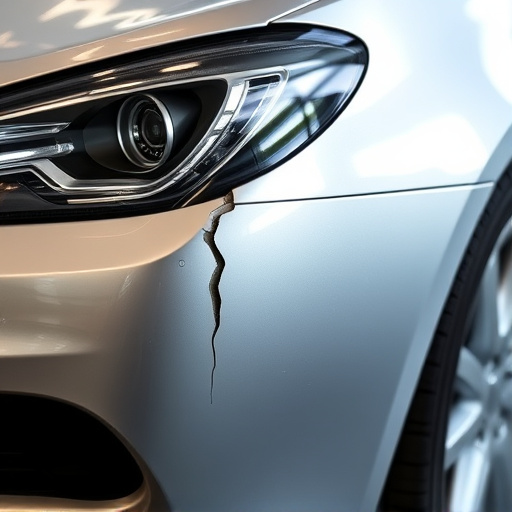
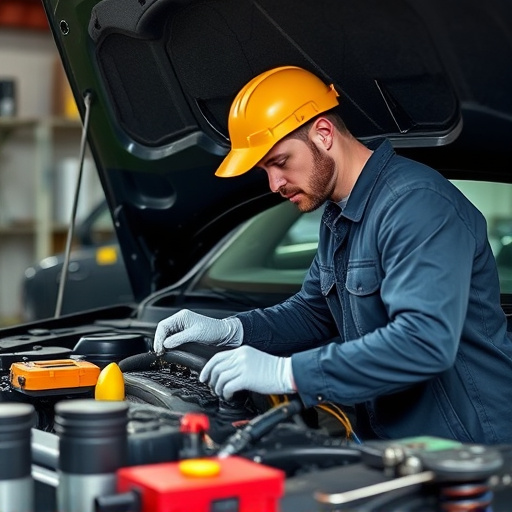
1. Assessment: Begin by thoroughly inspecting the damaged area. Identify the extent of the issue, considering both visible flaws and potential hidden structural damage. This crucial step guides the subsequent repair process.
2. Preparation: Clean the affected region using specialized solvents to remove grease, dirt, or debris. Ensure proper ventilation during this process due to the volatile nature of some cleaning agents. Once clean, dry the surface completely.
3. Patching and Filling: For smaller dents or scratches, use a suitable plastic repair kit that matches your vehicle’s color. Apply the filler compound evenly, following the manufacturer’s instructions. Allow it to set and then gently sand until smooth.
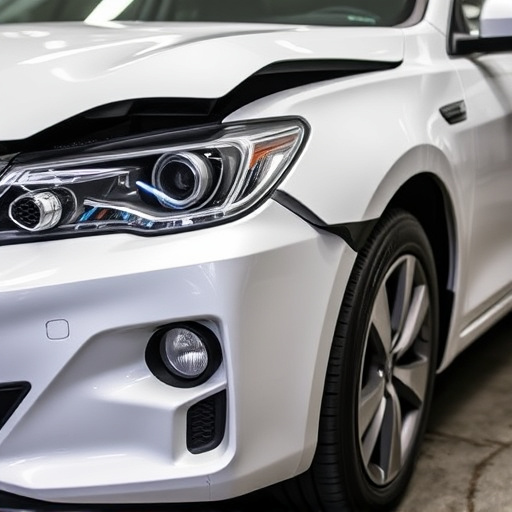
4. Shaping and Polishing: Utilize progressively finer grits of sandpaper to achieve a seamless blend with the surrounding body panels. Carefully shape the repaired area to match the vehicle’s original contours. Finally, polish the surface for a flawless finish that complements your auto’s overall aesthetics.
5. Painting (if necessary): If substantial painting is required—say, after a collision damage repair—carefully prepare the surface, applying primer and then paint in thin, even coats, ensuring each layer dries completely before the next is applied. This meticulous process ensures a professional, long-lasting finish that matches your vehicle’s original color precisely.
Plastic body part repair is a specialized field that combines precision, skill, and knowledge of advanced techniques. By understanding the common materials, tools, and step-by-step processes involved, individuals can achieve successful repairs, enhancing both functionality and aesthetics. Incorporating these techniques into practices ensures high-quality outcomes for those seeking plastic body part repair solutions.